How to Install ARPwner

ARPwner requires pypcap module to operate. The pypcap can be installed as follows.
apt-get install python-pypcap
ARPwner setup files can be downloaded by cloning the github repository as follows.
git clone https://github.com/ntrippar/ARPwner
How ARPwner Works

After installation, move to the ARPwner directory to run the main.py file using the following commands.
cd ARPwner
python main.py
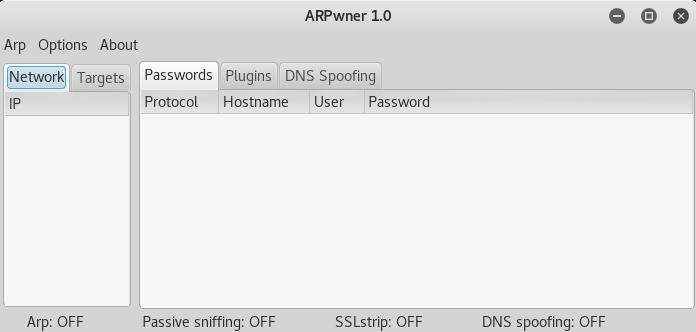
This will open the ARPwner user interface as shown in the following screenshot.

The tool has different plugins that can
log account details running under different protocols, such as
FTP, IRC, IMAP, NNTP, HTTP, SMTP, POP3, and TELNET. We can enable or disable
any of the available plugins to collect data according to the goals.
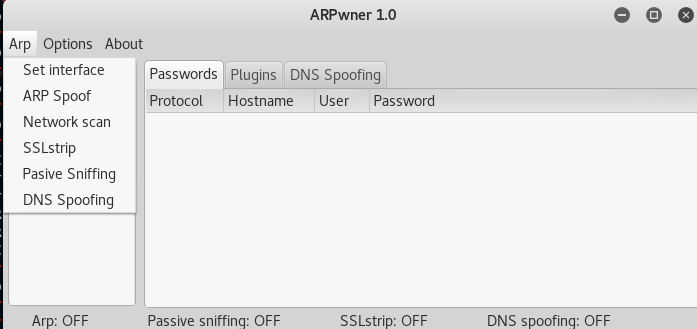
To start the ARP or DNS spoofing, select the target
interface listed under the ‘ARP’ tab. In our case, it is ‘eth0’. The
next step is to scan the network. This can be achieved by providing the
IP address range. Once the IP address range is provided, the tool lists
all the available online devices in the local network. Any IP address
can be added to the ‘Target’ list to intercept the traffic, such as
password credentials of specific services accessed by the user during
the sniffing process. The ARP and DNS spoofing options can be set ON and
OFF by just clicking the options from the ‘ARP’ tab.


No comments:
Post a Comment